64.배포 준비 & 프로젝트 빌드하기
강의 :
1.public/index.html
<!DOCTYPE html>
<html lang="ko">
  <head>
    <meta charset="utf-8" />
    <link rel="icon" href="%PUBLIC_URL%/favicon.ico" />
    <meta name="viewport" content="width=device-width, initial-scale=1" />
    <meta name="theme-color" content="#000000" />
    <meta name="description" content="나만의 감정 일기장"/>
    <link rel="apple-touch-icon" href="%PUBLIC_URL%/logo192.png" />
    <!--
      manifest.json provides metadata used when your web app is installed on a
      user's mobile device or desktop. See https://developers.google.com/web/fundamentals/web-app-manifest/
    -->
    <link rel="manifest" href="%PUBLIC_URL%/manifest.json" />
    <!--
      Notice the use of %PUBLIC_URL% in the tags above.
      It will be replaced with the URL of the `public` folder during the build.
      Only files inside the `public` folder can be referenced from the HTML.

      Unlike "/favicon.ico" or "favicon.ico", "%PUBLIC_URL%/favicon.ico" will
      work correctly both with client-side routing and a non-root public URL.
      Learn how to configure a non-root public URL by running `npm run build`.
    -->
    <title>감정 일기장</title>
  </head>

~
2.src/pages/Diary.js
    useEffect(() => {
        const titleElement = document.getElementsByTagName("title")[0];
        titleElement.innerHTML = `감정 일기장 - ${id} 번 일기`;
    }, []);
3.src/pages/Edit.js
    useEffect(() => {
        const titleElement = document.getElementsByTagName("title")[0];
        titleElement.innerHTML = `감정 일기장 - ${id} 번 일기  수정`;
    }, []);
4.src/pages/New.js
    useEffect(() => {
        const titleElement = document.getElementsByTagName("title")[0];
        titleElement.innerHTML = `감정 일기장 - 새일기`;
    }, []);
5.favicon.ico 변경
6.빌드
$ npm run build
다음 명령어로 배포할 수 있다는 것이 콘솔 창에 나옴
serve -s build
serve 를 전역 설치
$ npm install -g serve
$ serve -s build
서버가 작동 안된다면 오류 및 경고 메시지에 해당되는 부분을 전 수정 해야한다.
그리고 공연 전시 프로젝트에서
.env 파일 에서 다음과 같이 설정
GENERATE_SOURCEMAP=false
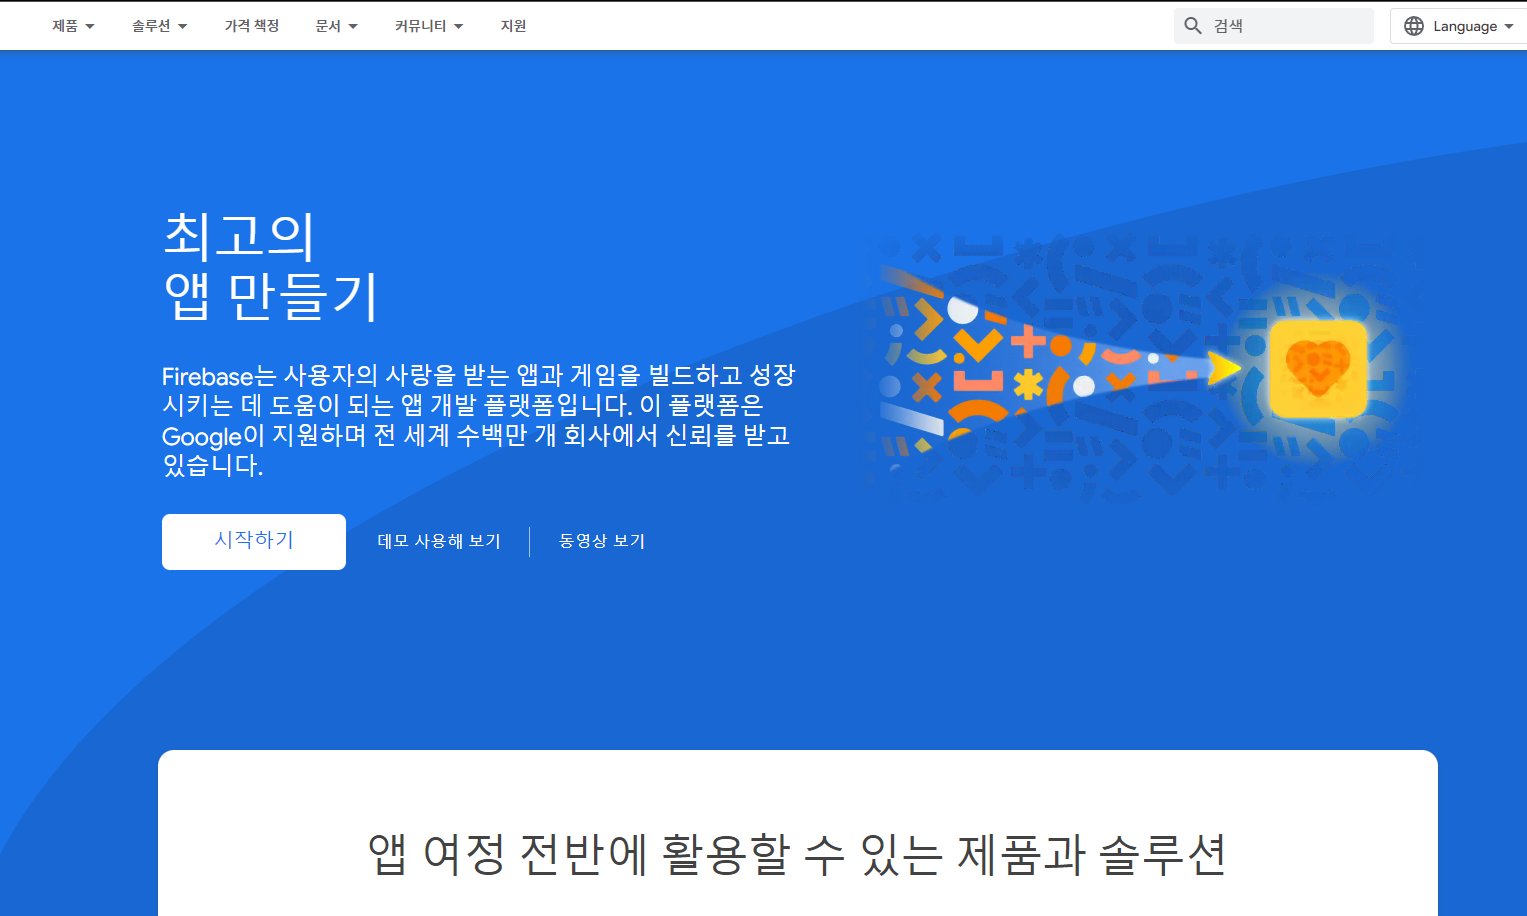
65.Firebase로 프로젝트 배포하기
강의 :
https://console.firebase.google.com/
배보벙법 : https://phrygia.github.io/react/2021-10-27-react-firebase/


작동이 안 되나요? Firebase CLI 참조를 살펴보거나 npm 권한을 변경하세요.
https://firebase.google.com/docs/cli/?authuser=0&hl=ko


최종 빌드 및 파이어 베이스 배포
$ npm run build

$ firebase deploy
https://my-react-emotion-diary.web.app/
65.Open Graph 설정하기
강의 :
public/index.html
    <meta property="og:image" content="%PUBLIC_URL%/thumbnail.png">
    <meta property="og:site_name" content="감정 일기장">
    <meta property="og:description" content="나만의 작은 감정 일기장">
카카오톡 오픈그래프 캐시 삭제 방법
사이트 대표 이미지를 수정했는데, 카카오톡 등에서 여전히 기존 대표 이미지가 표시될 수 있습니다. 더 빠른 데이터 로딩을 위한 캐시화가 원인으로, 사용자는 카카오 디벨로퍼스에서 디버거 도구를 사용해 기존 대표 이미지를 삭제해야 새로운 대표 이미지로 정상 표시됩니다.
https://developers.kakao.com/tool/debugger/sharing


댓글 ( 4)
댓글 남기기